If you run a podcast agency and host podcast like me, you’re probably constantly posting to social media asking your followers to listen to the latest show you’ve recorded. And, while podcasts do have a huge audience in the UK (around 7 million to be precise), the sad truth is that not everyone is on board with the podcasting phenomenon. Not everyone wants to dedicate 30+ minutes of their day to the great content you’ve created. So how do you reach these people? Simple, create as much micro-content as you can.
What is micro-content?
To create micro content you essentially clip of the best parts of your podcast into short form video content, to be shared across different social media platforms. This works best when you’ve filmed your podcast, but you can still make it work if you haven’t.
Do this well, and even if your podcast doesn’t get millions of downloads, your social engagement will be much, much higher. Some of your followers won’t be into podcasts, but will be more than happy to watch a quick clip on social media. This is a great way of putting the best or most important snippets of your content in front of these users.
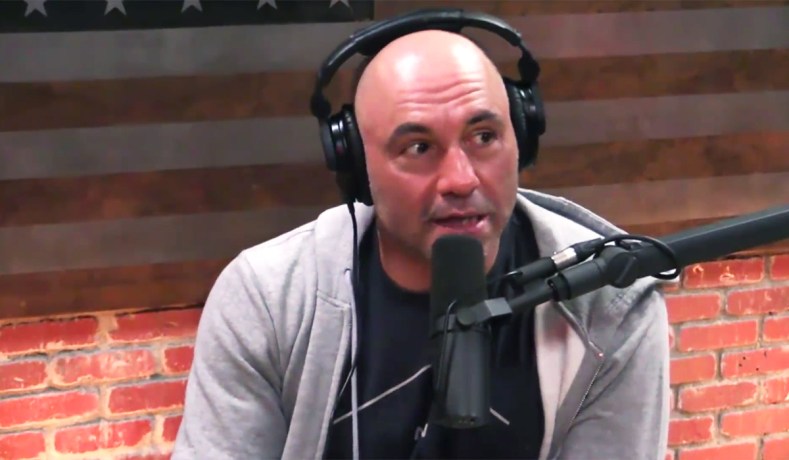
If you’re looking for inspiration on how to do this best, I’d recommend checking out Gary Vee’s social accounts. If you film your podcast, he’s a great person to emulate. If you plan to use the no-video method, you should go and have a look at the social accounts of Gimlet Media – creators of the podcasts StartUp and Reply All. They do non-visual micro-content really well, and will be able to give you plenty of ideas.
So, here are my top tips for making the perfect micro-content that will spread your podcast’s message far and wide.
Take notes for golden content moments!
Even if the producer is you or your co-host, for the time being, make sure you get someone in for one very important job: noting down when the magic happens. You need someone in the room during recording who is keeping a note of all the great little snippets that will make an amazing bit of micro-content.
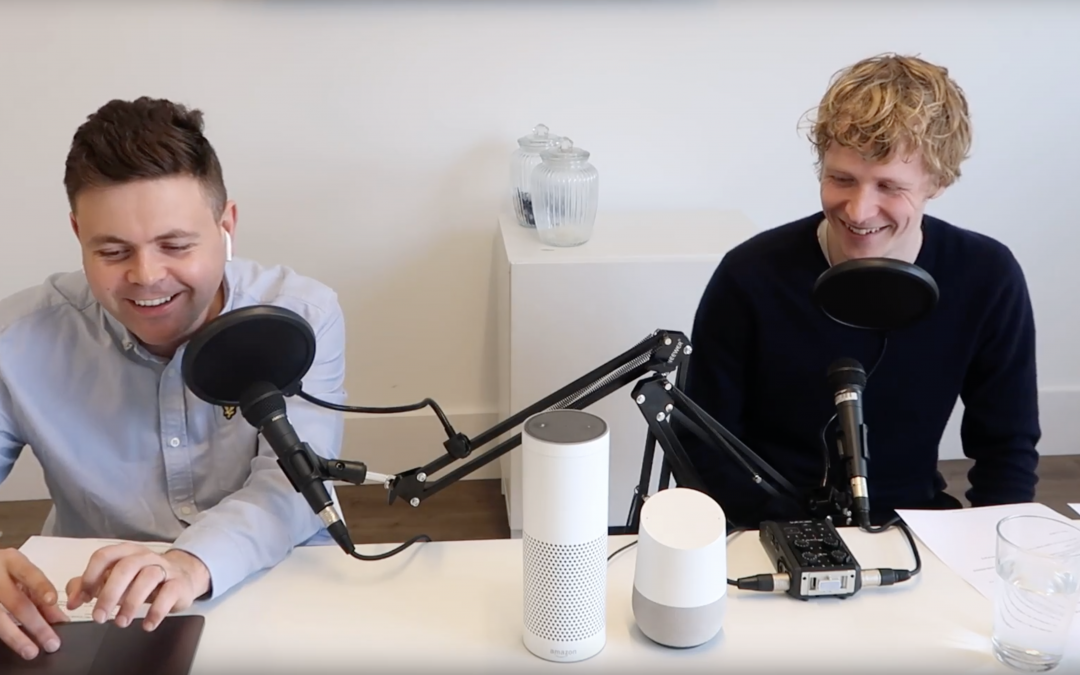
Film it
If you want to make the best micro-content possible, you should really film your podcast. This is simple enough to do, even on a reasonably modest budget. Of course, the biggest financial outlay will be a camera. I’m not saying you should go out and spend thousands of pounds on a top of the line camera, but you really don’t want to scrimp on quality either. Poor quality visuals will stand out for all the wrong reasons. When filming, make sure every person who is on mic has a camera on them at all times. So, whether each person speaking has a camera specifically trained on them, or you have one camera that catches everyone in shot, you won’t miss a moment of podcast gold when it happens.
If you don’t have the money, skills or resources to do this, what you can do is create animated micro-content. So you could, for example, have a blank background with the audio playing, and animate the subtitles so that they appear as the words are said. This is a great, free solution that means you don’t have to buy expensive video equipment. However, it does mean that you’ll need to sharpen up your editing skills, so don’t be afraid of doing some research, and trying a few things out!
Add Subtitles
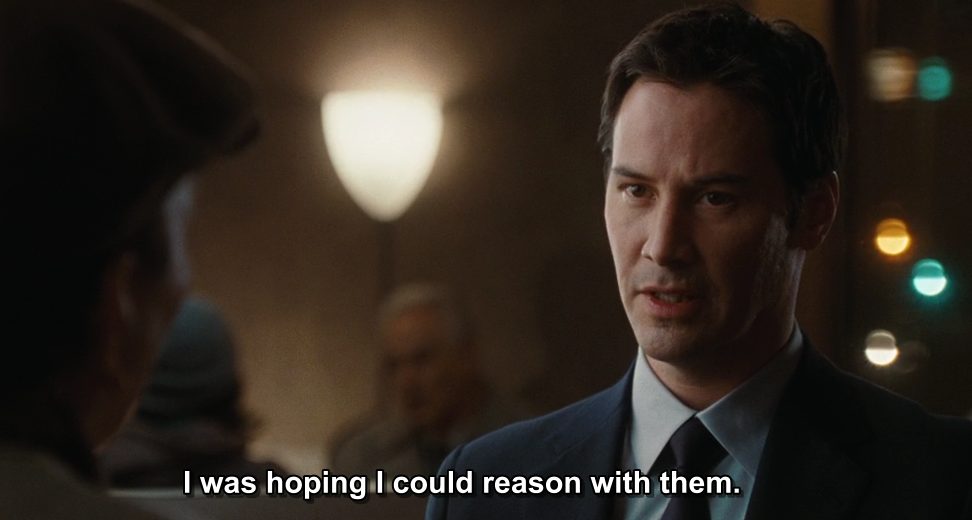
If you only remember one thing, remember this; add subtitles to your micro-content! Whether you have video content or not, this is absolutely essential. Many studies have shown that users watch social media content without sound. A recent study in the US put the percentage of users who don’t put their sound on as high as 93%. Add subtitles to every piece of micro-content, so that users can understand what you’re saying while they’ve got their sound down, because it’s most of the time!
Make sure it’s high quality
The nature of podcasting means that content can sometimes be a bit ramshackle, after all that is what many users love about the medium. It feels more authentic and less stage managed than traditional radio. However, this doesn’t mean that you can just slack off on the video and audio quality of your content. Think back to the last time you heard a poor quality podcast, or saw a poor quality video on YouTube. It’s unlikely that it held your attention for the entire runtime, unless the topic was of serious interest to you. Losing viewers is the exact opposite of what you’re trying to achieve, so it’s worthwhile taking the quality of your content seriously.
Learning even basic audio editing skills such as cutting out background noise, or basic video editing skills like colour grading can make a huge difference to the overall quality of your content. It can take your content from looking like the DIY operation that it is, to something polished and professional.
Format it correctly
While editing your micro-content, make sure that it is formatted correctly for each platform. Don’t just edit together one video in a standard format and then push it out on Facebook, Instagram, Stories, Twitter and LinkedIn. For starters, each of these platforms has an optimal video size, and most of them are different from each other. For example, a landscape video can be posted on Instagram, but it looks far better if you post something in the box format that is more natural on that platform.
Also make sure your content is branded uniformly. This may seem like a small detail, but you want regular viewers of your content to know it’s yours immediately as soon as they see it in the feed. As long as your content is good, this will make them want to stop scrolling and engage with your content. Also keep in mind how users engage with content on each platform. Something more long-form might fly on LinkedIn where users are more engaged, and happy to read and watch more longform content. On Stories, you need to tell your story in 10 seconds, so you’d better pull out the best bit of content you’ve got and cut it down to size. Taking a bit of time to optimise your content to each platform you post it on will go a long way.